Make Your Own Backyard Putting Green with Artificial Turf
A putting green in your Brisbane backyard is a valuable feature for practising your putting strokes whenever the opportunity arises and it can really give you a challenge comparable to the actual golf course.
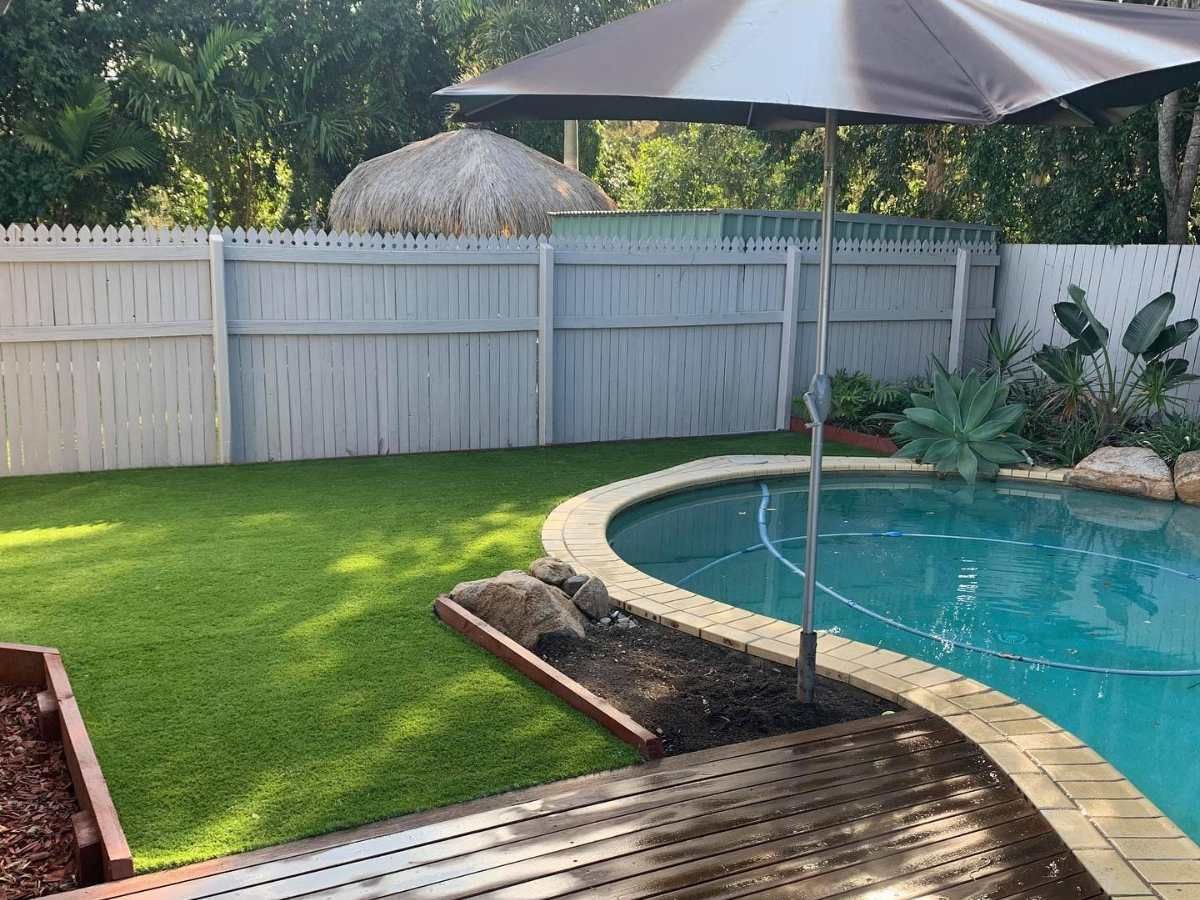
It allows you to perfect your putting skills gradually and even share your love of the game with your kids and friends without driving to your local golf course. Natural grass was the only dependable feature for backyard use in the past, but modern technologies developed artificial turf due to costly and challenging maintenance of grass throughout the year. Quality artificial turf putting greens bring fun and enjoyment to your whole family all year round without the maintenance cost and effort involved with real grass.
Some people believe that owning a putting green is reserved for the super-rich, but that is a big misconception. With just a little free space in your backyard, you can create your own putting green easily and affordably and we’re here to show you how!
How to Create Your Own Putting Green with Artificial Turf
Map Out Your Preferred Area
Most people prefer their backyard putting greens to have similar shapes and sizes to traditional putting greens. Although you may not have a complete replica, a compact straight green will serve the purpose just as well. Make sure you choose an area that doesn’t pool when it rains.
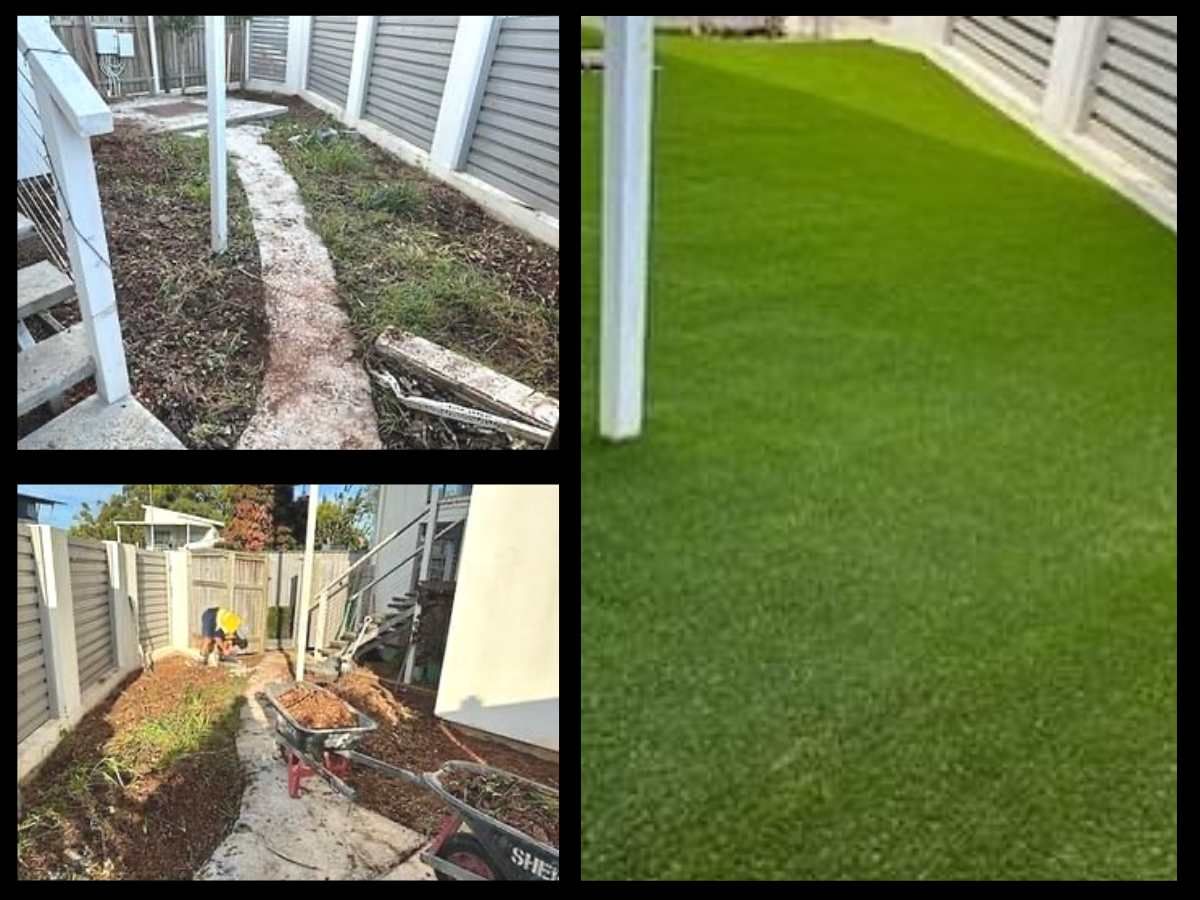
Clear the Area
Remove all objects and any existing vegetation by hand or with gardening tools.
Check the Soil’s Drainage Capacity
If the soil’s drainage is poor, you’ll need an extra stone layer as a subbase. However, if your soil drains well, a standard sand base construction will be sufficient.
Prepare the Installation Base
Creating a high-quality base is the key to keeping your putting green stable and well-oriented. Wet the soil slightly and spread a layer of crushed stones or suitable base material over it.
Distribute the base material evenly using a metal rake and then wet it slightly. You can also create a slope of 1 inch per 12 feet.
Level the Base
If you’ve used crushed stones as your base material, add a layer of sand and spread it evenly. If you used sand, all you need to do is compact it. You can hire a roller or compactor for the job.
Dampen the surface lightly and pass the compactor across the area several times until you achieve 90% compaction or higher. Ensure there are no bumps or uneven surfaces.
Install Your Putting Green Features
Install the cups, snake break, weed barriers, and any other required features during your ground preparation.
Lay You Artificial Turf
Roll the artificial turf over the entire surface, smoothing out creases. Tuck in the edges and use outdoor adhesive or tape to join any pieces. Don’t worry if this step seems challenging, our team are on hand to give you some help or DIY advice. Impressive turf can help you with the different artificial turfs available so you can have different levels of difficulty in the same space.
Spread Infill Over the Turf
Using a spreader, spread fill sand over the artificial turf. Repeat several times, ensuring even distribution each time.
Remove Excess Infill and Find the Spots You Installed the Cups
Remove excess infill by sweeping across the grain. Find the spots you installed the cups. Cut around the cups’ insides with a utility knife to remove the artificial turf. Remember to trim the edges.
Finish it Up with a Water-Filled Roller
You can use a water filled roller (if you have one) over the turf several times to make sure everything is packed down tight.
Benefits of Artificial Turf Backyard Putting Greens
● They have easy and affordable to maintain
● You can perfect your putting skills as often as you need
● They bring fun and enjoyment to the entire family
Tips For Successful DIY Putting Green Installation
Gather the appropriate tools and equipment. These can include a rake, compactor (you can even hire these!), adhesive or joining tape, turf cutter or utility knife, tape measure, etc.